


5 Programs to Create Videos For Your Facebook Fan Page
You probably come to this website because you like the automation tips I give you, and that’s great! Unfortunately, you aren’t going to find any automation here. The act of creating a video for posting on Facebook is not something you can really automate short of the oldest automation there is: paying someone else to do it.
That said, videos on Facebook get some of the best engagement of any type of post. Videos are given preferential treatment – so long as they aren’t static images in video form – above all other forms of post on Facebook except live videos. It’s easy to get a ton of reach and a huge pile of engagement out of a video, and it’s actually not all that hard to make a video any more.
Oh, years and years ago, production of video for the web was the domain of arcane wizards who knew more about the inside of a camera than they did about social conventions. It might require thousands of dollars worth of equipment, software that itself cost another grand, and dozens of hours of work. Not to mention the processing power necessary to render a video back in those days.
Today, it’s so much easier. Any off-the-shelf workstation today is likely able to render video, albeit maybe not at the top end 4K 60FPS. The software can be expensive, but there are also FREE video editing apps out there. Hell, the camera in your iPhone is probably about as powerful as a lot of the cameras people were using in the early 90s. You don’t have to muck around with video-to-digital convertors or anything else, either.
Facebook Video Requirements
Since the premise of this article is creative a video for Facebook, you want to make sure your videos fit Facebook as a platform. That means they should conform both to the technical limitations and to the best practices.
You can share video in both portrait and landscape orientation. In both cases, they will be displayed at 1280×720 resolution, which means portrait orientation video will have boxes on the sides. In general, you want to take landscape orientation video whenever possible, to best fit the display of a Facebook post.
The minimum width of a Facebook video is 600 pixels, though it really depends on your aspect ratio. You want 16:9 aspect ratio for your landscape videos, or 9:16 for your portrait videos, though again, landscape is better in general. Mobile rendering makes both videos 2:3, so an aspect ratio that fits both is idea.
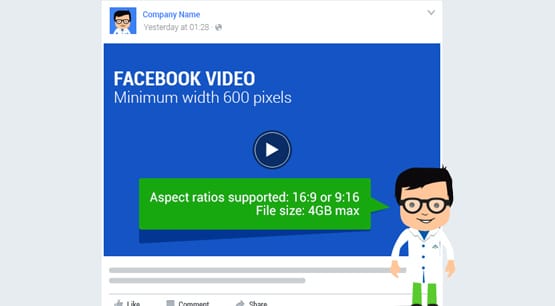
Facebook recommends that you render your videos as either a .MOV or a .MP4. Virtually all video editing software will allow you to save or render as MP4, so this shouldn’t be a concern. Your maximum file size is 4GB, which is more than enough for most videos. Your video length is a maximum of 120 minutes, though I guarantee you no one is going to want to watch a two hour video on Facebook. Shorter videos often work much better. You also have a maximum of 30FPS for Facebook rendering, so any videos uploaded at 60FPS will be downsampled.
If you want to use Facebooks 360 degree video, you have other technical restrictions. As usual, the minimum width is 600 pixels, though the ideal (and maximum) is 4096×2048, or 4K video. You have a maximum file size of 1.75 GB and a length limit of 40 minutes. However, you can render these at 60 FPS. They want MP4 files here, not MOVs.
This post from Sprout Social has all of these technical restrictions, along with the character count for headlines, descriptions, and links, kept up to date. They also list the technical specs for different forms of Facebook video ad, and videos on other social networks, if you’re looking for that kind of information as well.
Facebook Video Best Practices
First of all, higher quality videos are always better. If your video looks like it was filmed on a flip phone, a video camera from 1982, or a potato, you aren’t going to get much engagement out of it. The exception is if you’re posting some kind of viral video, like the WorldStar-style camera feed of a fight or something. You can do this if you want, I won’t stop you, but it’s not really something a professional brand wants to do. For the purposes of this article, I’m assuming you want to produce something high quality, more like a TV commercial than a found footage documentary.
In general, you want to keep your videos relatively short. I know Facebook has an upper bound of two hours for a video, but the best and most engaging videos are always going to be between 30 seconds and 5 minutes long. That’s still plenty of time to make something compelling. Most explainer videos are only 1-2 minutes long, and most TV commercials clock in around 30 seconds. You can do a lot with that time. In fact, you have to do a lot with your time; the longer you have downtime, the more interest you lose.
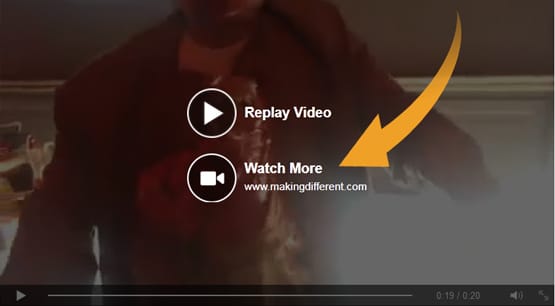
Your videos should always have a consistent call to action. You’ll want your CTA to be within the video, and you want it duplicated in your caption, ideally with a relevant link that also reinforces the call to action. If you can use Facebook’s embedded video links to make your CTA clickable, even better, though be aware that it won’t always work, so don’t rely on it.
In a lot of circumstances, you might want to consider adding subtitles. Subtitles are both a usability feature and a benefit with the way Facebook displays videos. See, when a video comes up in an organic feed, it plays automatically, but it plays without sound. Using subtitles gives the viewer something to catch their eye, which can make them un-mute and watch the full video rather than simply scrolling past it. Plus, it’s a huge benefit to users who are either hard of hearing or deaf, and those who are watching in a position where they can’t turn on volume.
Video Creator Tools
What I’ve listed below are five different tools you can use to make videos for your Facebook audience. They run the gamut from ultra-casual and free to pricey and professional. Pick the one that best fits your needs.
1. FilmoraGo
FilmoraGo is the mobile video editor version of Filmora, which is a more professional level tool. It’s free for mobile devices. The Android version is here, and the iPhone version is here.
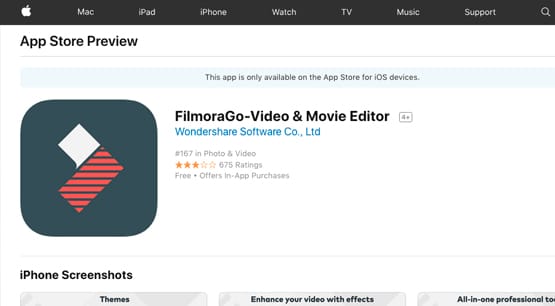
FilmoraGo allows you to take a video with your phone or mobile device and then edit it for publication on Facebook or through any other social network or posting source you want to use. They let you trim down a video clip to remove extra crap at the start and end. You can create subtitles quickly and easily, or add more robust and mobile text. You can speed up or slow down the video, though it doesn’t have a slo-mo version. You can also add filters and overlays from their stock library. On top of it all, you can add music, either from your own library or from their own stock library. You also have “theme” options, which are selections of overlays, filters, and music that combine to give a certain aesthetic.
The app itself is free, but it has in-app purchases for more filters, themes, and associated elements so you have more options when you produce your videos. Still, for a free app, there’s a ton there for you to use.
2. Magisto
Magisto is another mobile app that can allow you to edit videos on the fly. It’s free for both iOS and Android, as with FilmoraGo, but has a business version you can buy that has additional features. More on that in a moment.
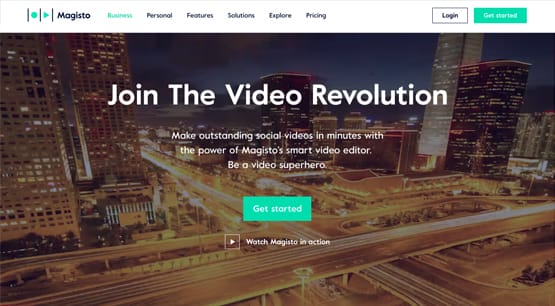
Magisto’s primary benefit is that it is a guided editor. You capture a video and the app allows you to edit it using a guided “editing style.” The editing styles help you turn a basic video into a video that fits a certain aesthetic, using elements like quick cuts or transitions, music choices, filters, overlays, and text formatting. They have their own music library, though you can upload your own music or purchase music for commercial uses through their app directly.
The business version has a lot of additional features aimed at making your videos as professional as possible. They have cross-platform sharing and editing features, as well as analytics for your uploaded videos. Most importantly, it allows clipping and reordering video scenes, something FilmoraGo and other mobile apps don’t generally do. It’s quite good, but limited in the number and length of videos you can create unless you pay for at least the $20 per month plan. The fully featured business plan is $35 per month and, if you’re going to pay for it all, is the one I would most recommend.
3. Shakr
Shakr is a desktop video editing app that is nevertheless aimed at simple video editing. It’s not as complex as something like Lightbox or Adobe Premiere, both of which can be exceedingly useful but also exceedingly complicated. Shakr is a much more simple editor that bridges the gap between “I recorded this on my phone” and “this is something produced for my business.”
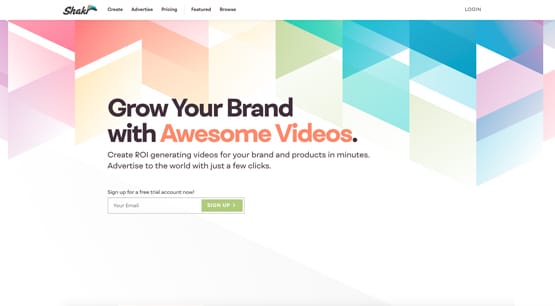
Shakr is a template-based video editor that helps you produce videos from scratch or use your own footage to make a video based on their designs. They control things like filters, cuts, music cues, length, and a call to action all with the editing. It’s primarily aimed at small businesses, but the list of templates is enormous and spans a wide range of possible business types. It works quite well for ads as well as organic posts.
The basic Shakr plan starts at $50 per month and only allows you one un-watermarked video per month. The standard plan is $100 per month and gives you access to the full template library, commercially licensed music, unlimited videos, and their advertising engine. $180 per month also gets you reseller rights, custom watermarks, and team accounts, and $350 per month gets you some enterprise-level features most of my readers probably don’t care about.
4. Camtasia
Camtasia is a video editor made by TechSmith and is one of the professional tools used throughout the industry. It’s great for editing videos you shoot with a phone, a professional digital camera, or via screen recording. You can edit, crop, split, splice, and otherwise adjust your video quickly and easily. They have a whole library of transitions, effects, animations, and filters you can use to fit the perfect aesthetic for your videos.
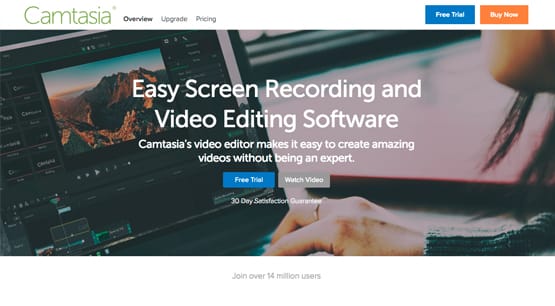
Camtasia has a low skill floor, but a high skill ceiling. It’s easy to use if all you want to do is make basic edits to videos and push them to Facebook. It’s also extremely powerful if you want to make cleverly produced montages, explainer videos, or more advanced creations for branding purposes. It’s high precision, allows a wide variety of export options, and is generally considered a high quality professional tool.
Camtasia can also be used for recording video or audio that passes through your computer, in case you want to monitor what someone using a screensharing app or VOIP is doing.
Pricing is the one downside of Camtasia, though it’s pretty reasonable. A single license for unlimited, unfettered use is $249, with no monthly subscriptions. You will have to pay about $100 for software upgrades when they happen, though they’re relatively rare. Also, they don’t provide a library of licensed audio; you have to do that yourself, which might mean more licensing fees. Then again, that’s true of any video editor you use if you don’t like their stock library.
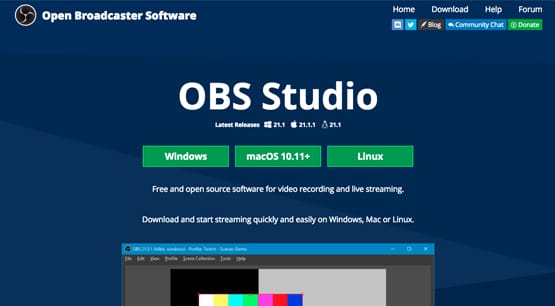
5. Open Broadcaster Software Studio
OBS Studio is one of a handful of options aimed not at producing video, but at streaming it. Facebook live video is becoming increasingly prominent and valuable for brands, and OBS Studio is a great option for broadcasting. You will need to figure out your Facebook Live streaming key to add it to OBS, and you’ll need to find your way around scenes and whatnot, but you can create live videos with it with relative ease.
OBS Studio is free to use for all platforms. It has built-in video and audio processing, so you can do anything from change colors and add filters to reduce noise and add a noise gate. You can also add multiple elements or feeds at once to one scene, adjust anything dynamically, and monitor the performance of your stream in real time. It also allows you to record your output locally, even with better resolution and framerate, so you can edit the video for future uploading in a more professional setting.