How to Use Zapier and Buffer to Automatically Post Tweets

If you want to keep a Twitter account active, but you don’t want to pay for a high-end automation service, content curation engine, or a similar service, you can set something up on your own.
As with any such kind of automation, this one will require you to do a little work ahead of time and use multiple services to accomplish the task. It’s the eternal trade-off; you’re saving money, but to do so, you’re doing some of the work yourself. Moreover, you’re reliant on more than just one service, so if one part of the chain breaks, you may have to revamp the entire thing.
All of my usual caveats apply here. Any time you’re automating social media, you need to monitor what you’re doing and be quick to intervene if there’s a mistake. You can tweet things you don’t want to tweet, accidentally, if you’re not careful. Promoting your competitors or promoting broken content are just two of many possible risks.
You also can’t grow a Twitter account just with automatic content. You’re going to need to post your own organic content and, more importantly, interject with your own engagement. Be sure to take the time to retweet, like, respond to, and otherwise engage with both your followers and the influencers you follow.
The process I’m going to describe below has several individual parts, each of which can be swapped, adjusted, or replaced with other similar services. I’ll try to mention some when I think of them, but there will always be others. Feel free to customize it to whatever services you already use or pay for. The better the fit is for your own brand, the better off you’ll be with the whole system.
Step 1: Curate Content Sources
The first thing you’re going to want to do is take the time to build a strong foundation. What I mean, in this case, is browse the web for a while and figure out where the majority of your content is coming from. What news sources do you like to watch? What blogs are giving you the most up to date news? What authors tend to create the best insightful content that gives you good engagement to share?
It doesn’t necessarily matter if you only have three or four sources, or if you have 20 of them. You actually have to strike the right balance here. If you have too many sources, you’re likely to get the same topic covered in roughly the same way from several different sources. When you start tweeting those, your audience will wonder why you’re tweeting basically the same thing multiple times. On the other hand, if you have too few sources, you won’t be able to fill your Twitter feed as much as you would like for maximum engagement and growth.
I recommend building as big a list of sources as possible, and then pruning them down. You can always keep specific sources around as backups and replacements if you find one doesn’t sit well with your users, one falls down and dies, or one falls from grace due to actions of the editorial team. There’s always a risk of something happening, and you don’t want to make a mess of your Twitter feed when a source changes abruptly. Remove duplicates and overlapping sites from your list and come up with something that can get you between 10 and 30 new pieces of content every day.
I say 10-30 here, but you can really aim for whatever level of content you want to be tweeting about. Essentially, think about the number of pieces of content published by the source each day, and add that up with all of your other sources. That’s how often you’ll be tweeting, in general, unless you want a large backlog. Shoot for something reasonable. You may also want to start smaller and ramp up as you go, so you aren’t going from 2-3 tweets per day to 20, slamming a bunch of spam into your followers’ feeds.
Keep in mind that some sources might not work with the system we’re going to set up. Forbes in particular tends to screw up curation engines, so don’t count on them to be one of your major sources.
Step 2: Create RSS Feeds
The second thing you want to do is set up an aggregated RSS feed. There are several ways you can do this.
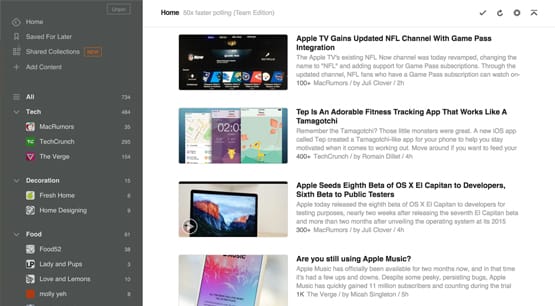
The first way is to use a site like Feedly. Feedly allows you to take various content sources through their own blog RSS feeds and gather all of the content into one magazine-like digest for you to read. You can monitor YouTube content, blogs, publications, other feeds, or even internal business content if you want. I would be very careful with internal content, of course; you don’t want to set something internal to broadcast externally.
Feedly will aggregate the sources you plug into it and can give you an RSS feed to use as a content source. That’s what we’re after. Feedly allows up to 100 sources and up to 3 feeds with the free account, but unfortunately we’re going to need some API integration. Specifically, we’ll need Zapier integration, which you need to pay to get. Thankfully, it’s only about $5 per month, so it’s basically a trivial cost.
Another alternative is the content discovery engine UpContent. UpContent is aimed at finding new content sources rather than taking existing sources and putting them together. It centers on a query builder and uses their own content index to find that relevant new content to use. The catch is that you can only have one query at a time if you’re using the free version. The paid version is $10 per month and can get you a lot of content you might not expect, so it’s pretty solid as far as investments go. Just be careful to monitor it; you don’t want that unexpected content to turn into detrimental content.
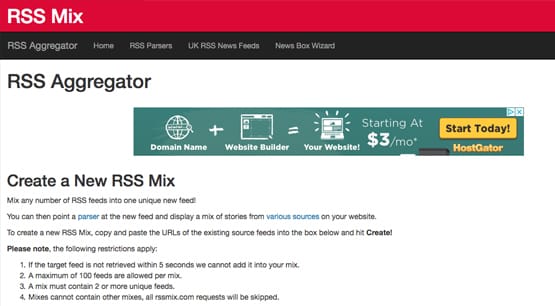
You can also set up a custom aggregated RSS feed on your own. You can use something like RSSMix to take several different RSS feeds as input and merge them into one single RSS feed as output. Different RSS mixer tools will have different requirements, of course, so you want one that will remain stable as you use it day in and day out.
Step 3: Make a Zap to Convert RSS to Buffer
The third step you want is to convert your RSS feed’s output into an input for Buffer. In order to do this, you’re going to need two things; a Buffer account and an account with some automation engine.
The two major automation engines I like to use are Zapier and IFTTT. As the subheading indicates, I tend to prefer Zapier – using a Zap rather than a recipe – but you can use whichever of the many automation module engines you want to use. It’s all just connecting two APIs and processing data in between, so hell, you could even do it with custom code if you wanted something a little better than what either company offers.
It’s free to sign up for Buffer, but you’re going to be limited to 10 social media posts scheduled at a time. This can be a problem if you want to build a larger backlog, or if you want to spread your updates out throughout the day but your RSS source tends to cluster all at once. Buffer is nice enough to use that I don’t mind the $15 per month price tag to get 100 scheduled posts at a time.
Zapier has a number of different ways you can integrate an RSS feed as a content source with Buffer. You’ll want to use the one that adds RSS input into a Buffer scheduled post, rather than the one that just publishes through Buffer immediately. You can also skip step two if you use the “new items in multiple feeds” aspect of Zapier, but that one might require a paid account. I don’t remember offhand which oens do and don’t.
If you are fine with just a simple two-step Zap, you can use Zapier for free. You might, however, need to pay the $20 per month if you want to make a multi-step Zap or process the data in between in any way. Again, I find it worthwhile, but if you’re trying to save on costs, you might go for the free version. Again, everything is modular, so experiment with what you actually need.
IFTTT has their own RSS to Social and RSS to Buffer options you can use. IFTTT is a less complex and less robust system, but if it does everything you want it to do, go ahead and use it. It’s completely free outside of enterprise-level usage, which is the trade-off for using less complex recipes.
At the end of this step, you should be feeding your RSS source into an engine that converts the source into a tweet, which will generally have the blog post title, the image, and the link formatted for Twitter. That data will be pushed to Buffer and put in your schedule.
Step 4: Set Buffer to Tweet Appropriately
Once you have this set up, you can configure Buffer to do what you want it to do. As I mentioned, Buffer can be used for free or you can pay for an account if you want a larger backlog. It’s up to you which you prefer. I figure there are two main options.
Option 1 is the largely hands-off option. You want to pay for Buffer with this option, because you’re going to be scheduling at least 15-20 posts per day. The vast majority of your Twitter content is going to come through this platform, so you want it to be able to handle it smoothly throughout the day. Having a backlog of 100 scheduled posts is ideal in this instance.
The first option is best if you want to basically let your Twitter account run itself. I’ve used it to moderate effect when I’m experimenting with growing a test account in various niches, or just want to see what content performs in what way. Unfortunately, it can get very cluttered if you also are active organically, so you don’t want to do both.
Option 2 is to use the free version of Buffer and keep a relatively small backlog, tweeting only 10 or fewer times per day using the engine we’re setting up. This is pretty good, because it allows you plenty of room to make your own tweets, retweet content you see that hasn’t come up in your feed, and otherwise engage more organically with your audience and your influencers. On the other hand, it means you need less input and you have less automation working for you. You need to strike the right balance.
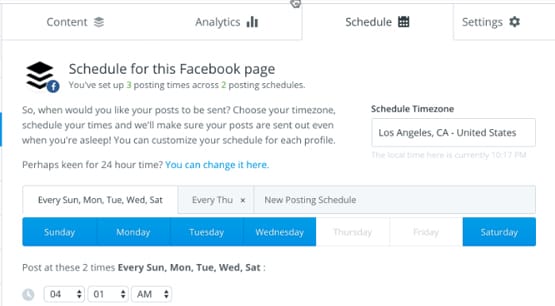
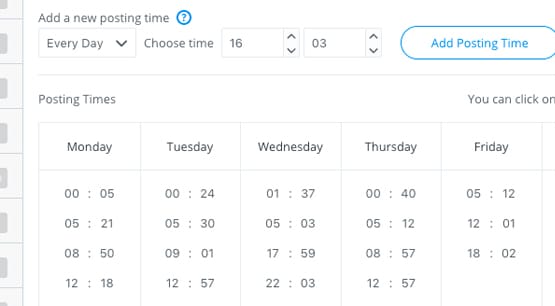
Either way, set up Buffer to use analytics and determine the right times of day to schedule your posts. You want to aim for maximum engagement, which means monitoring your content aggressively. If a certain content source is underperforming, go back to your aggregate RSS and remove the source, replacing it with another. If one is performing well, you may want to make sure you’re promoting it more than usual.
You also want to spend a while monitoring how the engine performs to make sure there aren’t any bugs that abandon your profile or break the whole chain along the way. Sometimes glitches happen, and you don’t want to be left without content once you get everything rolling. It can be worthwhile to take manual control over your Buffer account if your backlog breaks, just in case.


